Fall craft #1
The first craft we made at the 2013 Fall Craft Party has a bit of a back-story attached to it.
(*For the full list of crafts links – scroll to the bottom of this post)
Like all the crafts, I found the idea for this first one on Pinterest.
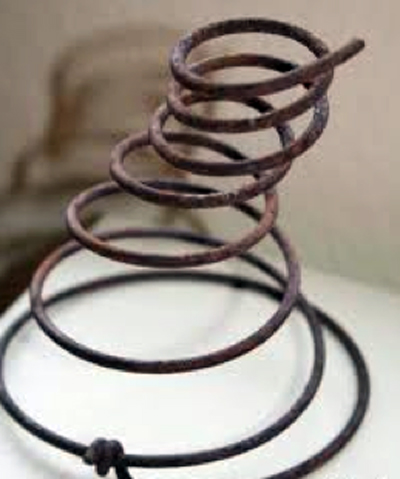
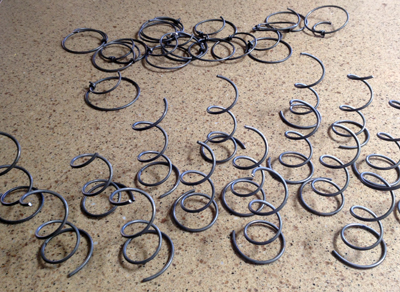
It uses a rusty spring. Which is fine and dandy, but exactly where does one find a bunch of rusty springs? Hmm?
Coincidentally … Dave and I had talked about getting a new mattress set for our bed. Hey, box-spring mattresses have springs! Maybe I could buy that new mattress set, sooner, rather than later and pull apart one of the old box springs and rip out its springs!
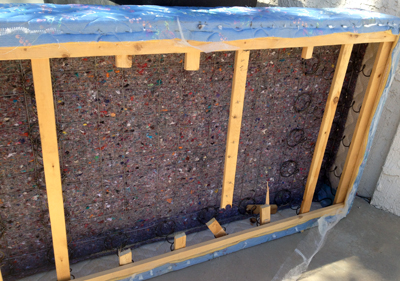
The new mattress set arrived the afternoon before we left for San Francisco, back in early October. I had the delivery guys haul away the old mattress and one of the box springs (king beds take two half-king-size box springs.)
As for the remaining one – yep, I went to town on that thing!
Maybe I should not say that I “went to town on it” because that makes it sound as if it was an easy task.
It was not!
The springs are attached to a stiff wireframe with very strong wire doohickeys. I had to pry each one off the wireframe with pliers – it took forever and resulted in some pretty scratched-up hands!
On the other end, the springs are attached to the plywood with very strong staples. I had to cut the wood slats off the frame to get to the underside and be able to take out the staples.
So, once I’d gotten the entire row of springs disconnected from the wireframe, I then took a saw to the wood and cut out an entire section at a time.
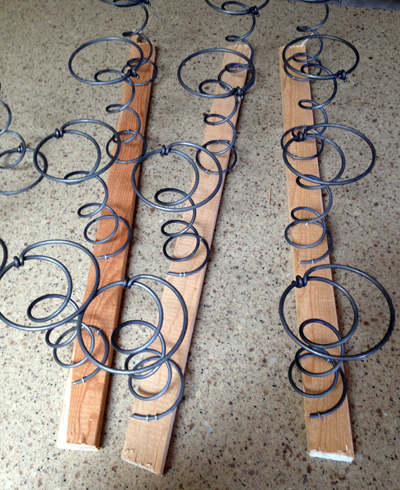
Next, I used a screwdriver to pry up the staples and then used needle nose pliers to yank the stubborn staples out.
Yeah, it took hours, but I prevailed!
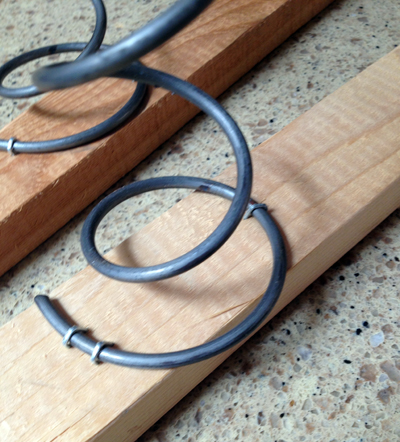
Next problem was, that the springs were too wide at the bottom and overall they were too large for what I needed them for.
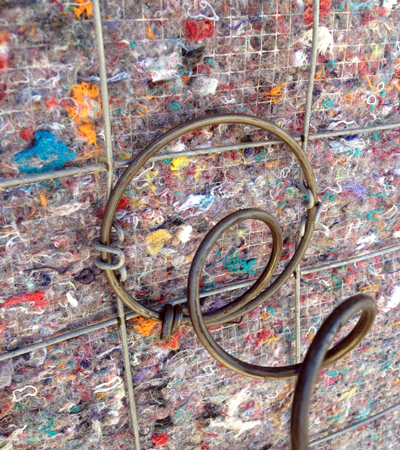
Luckily for me, the masons were building my firepit (the 8th AND Absolutely FINAL firepit of this house!) in the front yard. I placed all the springs in a box, put on my best “damsel in distress face” and took them out to the guys.
They were super kind and cool about it and used a tool to cut off the large end of each spring for me.
They may have figured out they’d been duped and tricked to think I was helpless when, only moments later, they witnessed me hauling the torn up box-spring out to the construction dumpster which currently resides at the end of my driveway, and tossing it in like it was an empty box or something.
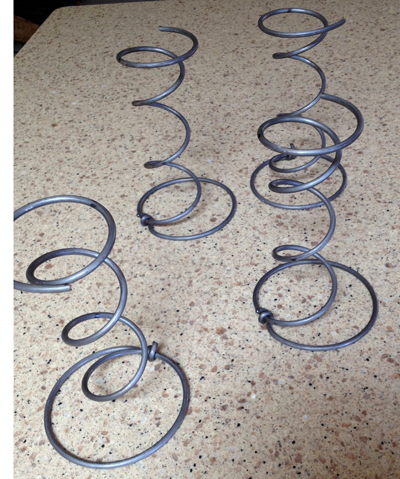
No Matter! Eighteen perfectly sized springs later … Victory is MINE!
Now, what to do about the need for rusty springs!?!? No problem, I just threw them in a flower bed, out back, where the sprinklers come on twice a day.
When we came back from San Francisco, a mere five days later…
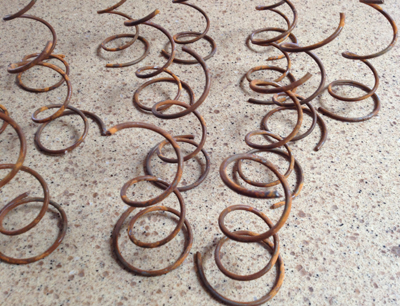
Absolute Perfection! Now about that craft…
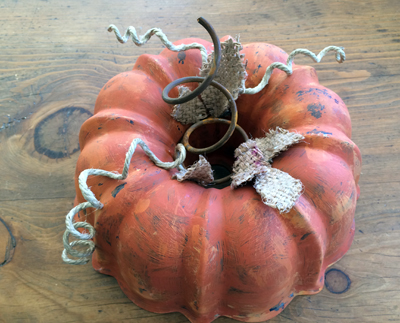
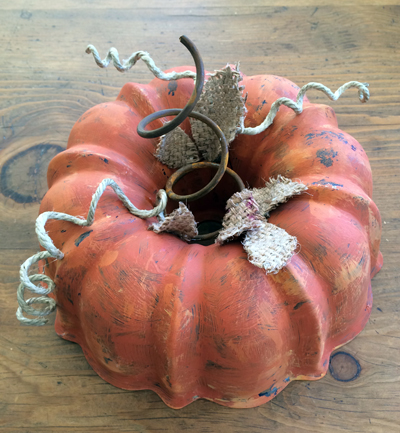
Bundt Pan Pumpkin
I love everything about this craft. The fact that it uses a beloved kitchen item and turns it into a beautiful yet rustic holiday item, is just too good to be true.
It is even quicker and easier (once you have a rusty spring) to make than an actual Bundt cake!
October 22, 2013 9 Comments